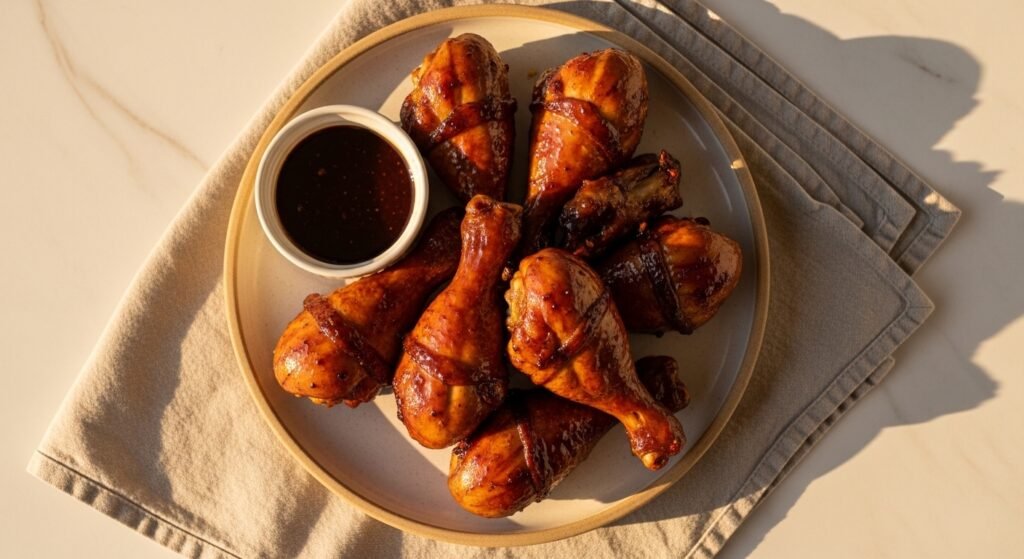
You’ve craved sticky chicken drumsticks with that perfect glossy sweet and savory glaze, but they either burn, stay pale, or the glaze never sticks. This guide walks you through an easy, repeatable method so your drumsticks get shiny, sticky, and juicy every time.
The secret is timing and the right tools: a rimmed baking sheet with a wire rack for baking sheet for crisp skin, plus an instant-read thermometer to hit safe doneness without drying out. Use them and you’ll stop guessing and start serving consistent sticky chicken drumsticks.
Read on for ingredient timing, step-by-step cooking, glazing tips, and storage so you can make this for weeknight dinners, meal prep, or game day.
Preparing Your Ingredients
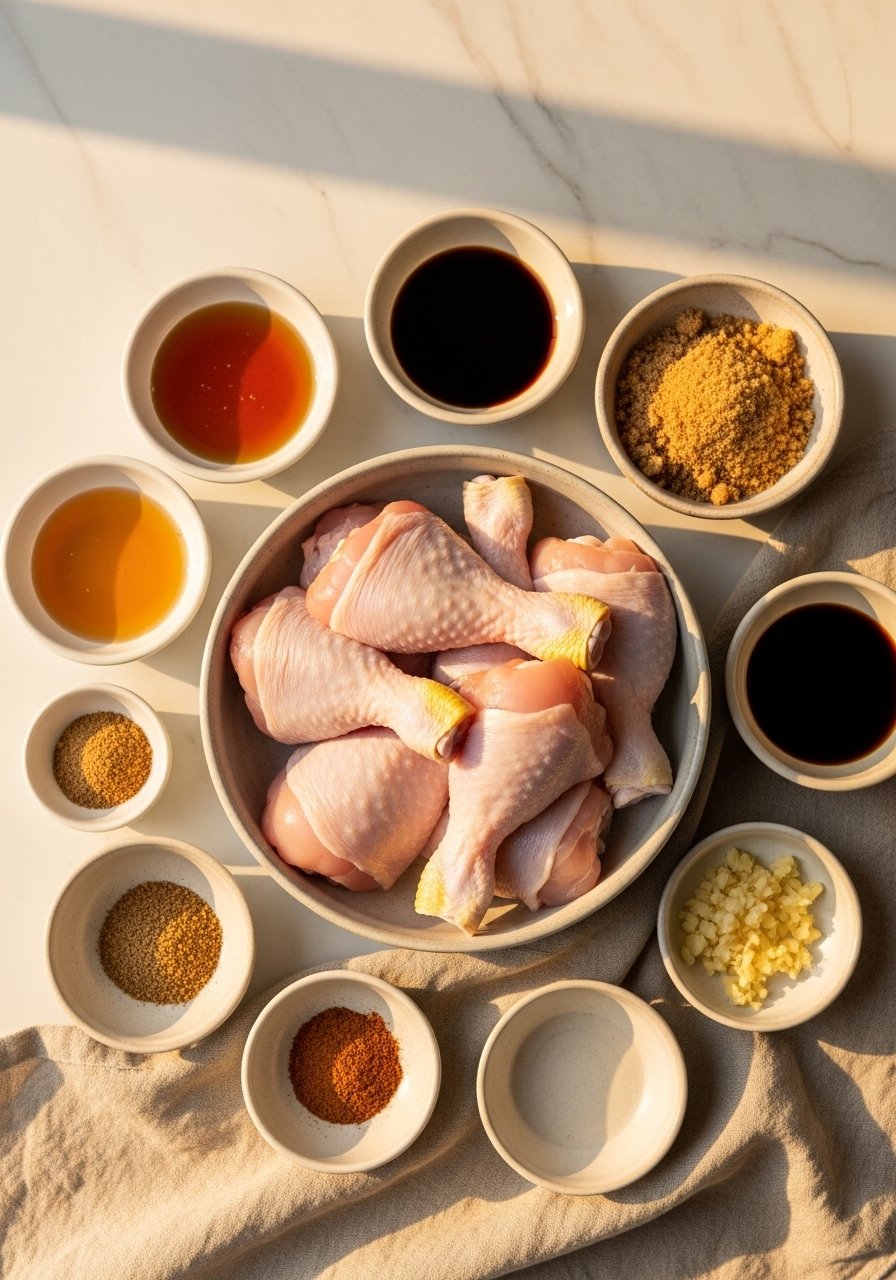
Start with 6 chicken drumsticks (about 1.5–2 lbs), which serves 3 people at 2 drumsticks per person. Pat them dry—moisture prevents browning.
- Mix the glaze: 1/3 cup honey, 1/4 cup soy sauce, 2 tbsp brown sugar, 2 tbsp rice vinegar, 2 cloves minced garlic, and 1 tsp grated ginger.
- For prep tools, use a silicone spatula to whisk and a set of measuring spoons for accuracy.
- Tip: make the glaze in a small saucepan so you can reduce it slightly for thickness before brushing.
Trim excess skin if needed and season the drumsticks with salt and pepper. Dry skin plus hot air = better crisping.
Roasting and the Cooking Technique
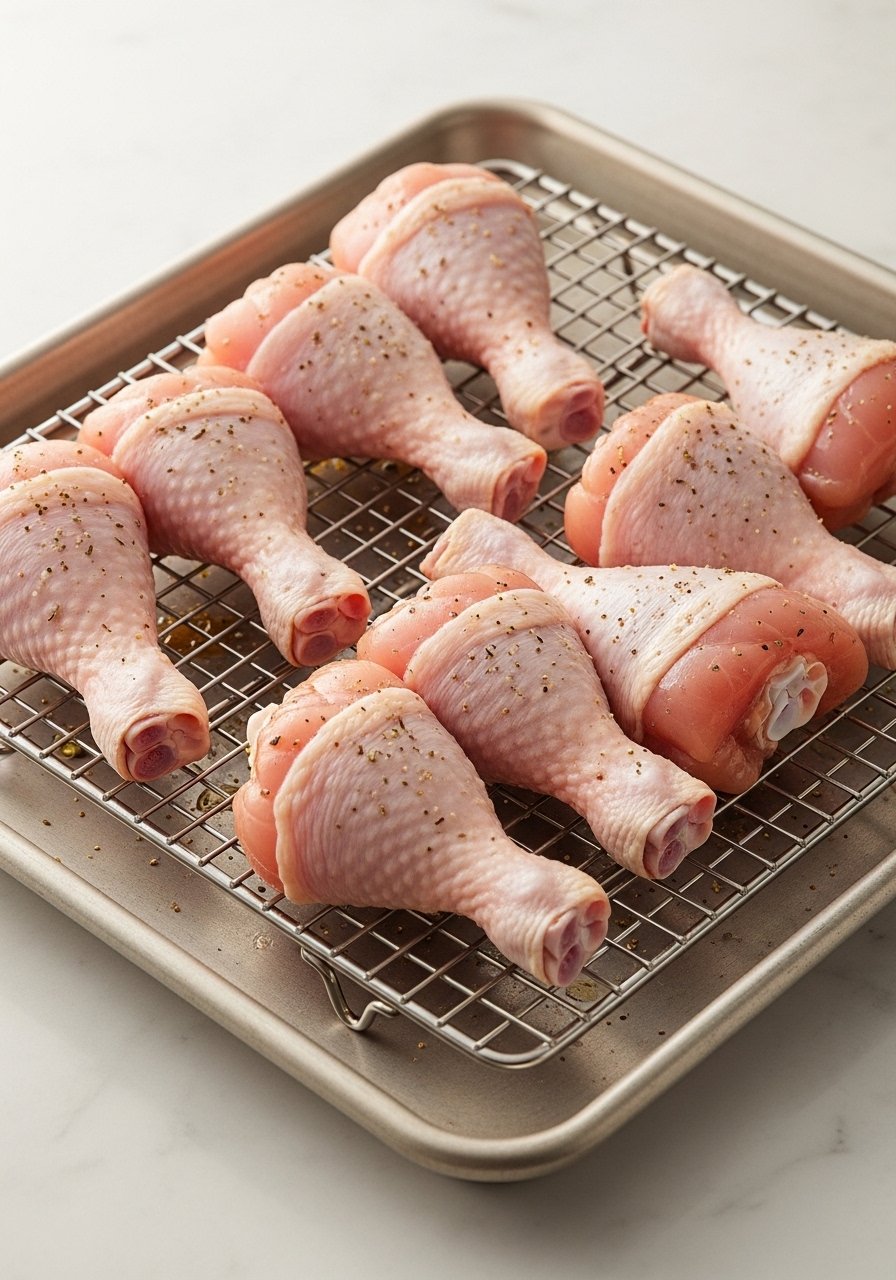
Roast the drumsticks at 425°F (220°C) for fast browning and rendered fat. Using a wire rack for baking sheet lets air circulate for crisp skin.
- Preheat oven to 425°F and place rack in the center.
- Arrange drumsticks on the rack; loosely tent with foil if they’re browning too fast.
- Roast 20 minutes, flip, then roast another 10–15 minutes.
- Use kitchen tongs to flip without tearing the skin.
- If fat splatters bother you, line the pan with parchment paper under the rack for easier cleanup.
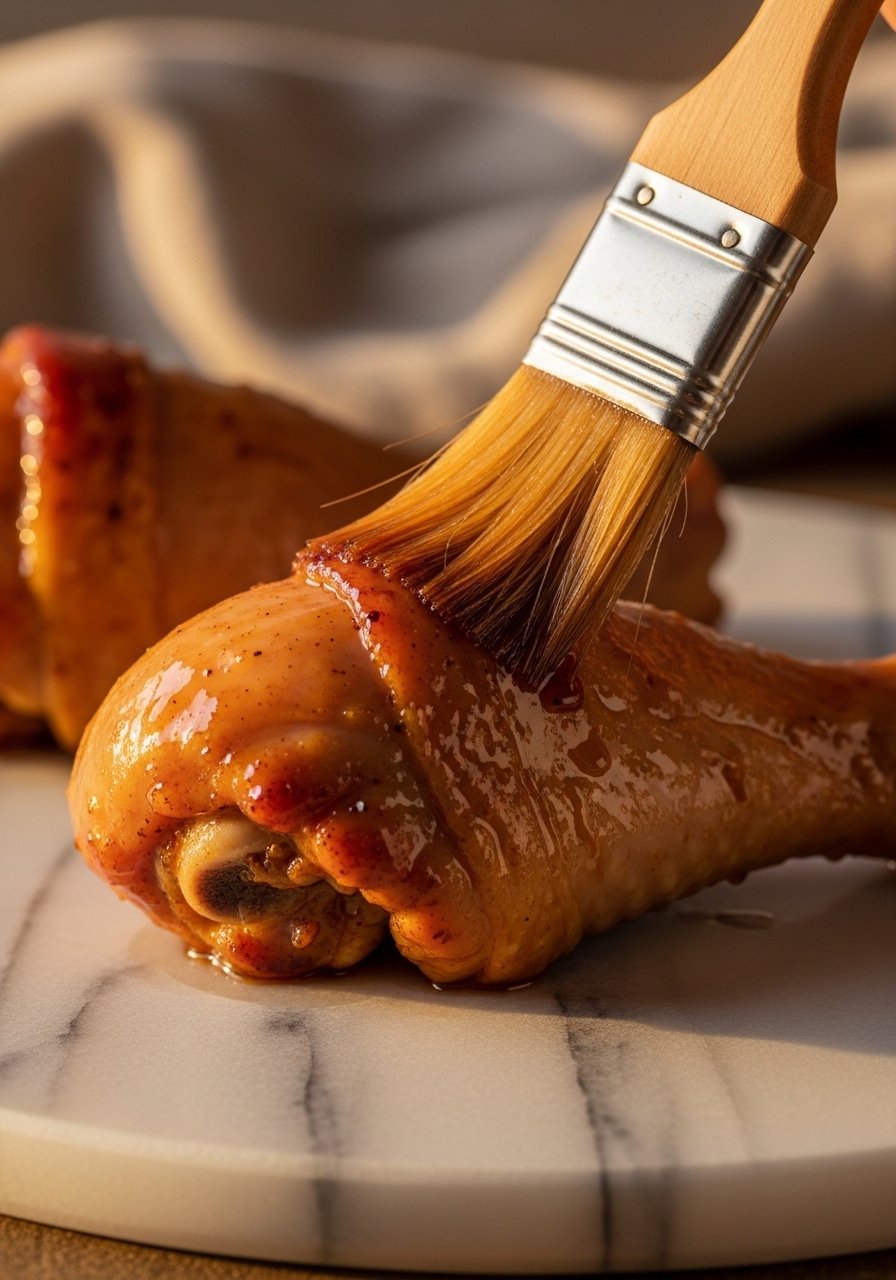
- Brush on a thin first coat of glaze after the initial 30 minutes to start building stickiness.
Getting the Perfect Texture and Doneness
Internal temperature is the best judge. The USDA safe minimum is 165°F, but for tender dark meat aim for 170–175°F.
- Check at the thickest part with an instant-read thermometer.
- After probing, brush another thin layer of glaze and return to the oven under the broiler for 1–2 minutes to caramelize—watch closely to avoid burning.
- Repeat brushing and quick broil once more if you want extra sheen.
Pro tip: a silicone pastry brush won’t shed bristles and cleans easily.
Finishing Touches, Serving, and Storage
Let drumsticks rest 5 minutes before serving so juices redistribute.
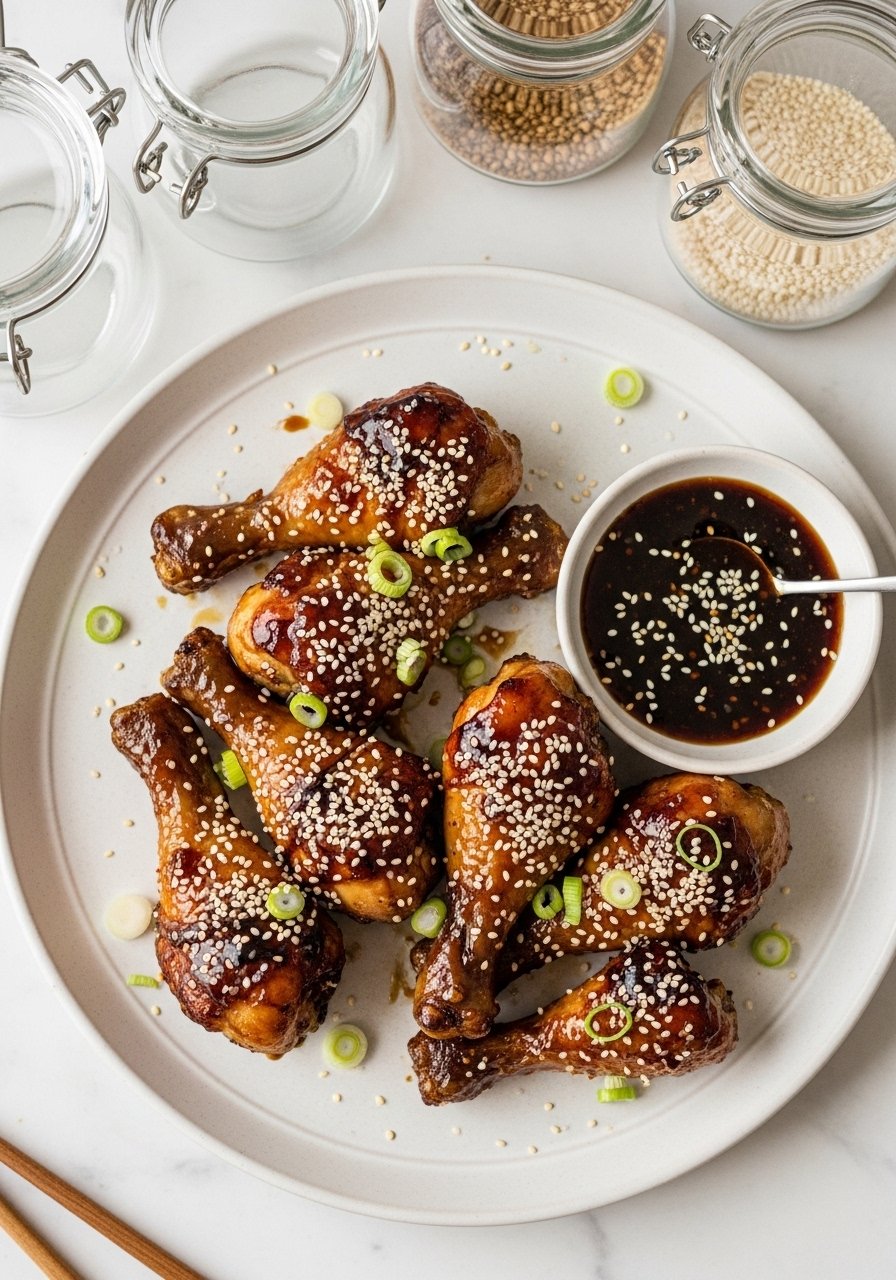
- Garnish with toasted sesame seeds and sliced scallions.
- Serve with rice, a crisp salad, or roasted veggies for a balanced plate.
- For leftovers: cool completely, then store in glass storage containers in the fridge for 3–4 days or freeze up to 3 months in freezer bags.
Reheat in a 350°F oven until the interior reaches 165°F with an instant-read thermometer for best texture. Avoid microwaving if you want to keep skin from getting soggy.
Mistakes to avoid:
- Too-heavy initial glazing—sugary sauces burn if applied too early.
- Skipping the wire rack—skin will steam and lose crispness.
- Not checking temperature—overcooking dries dark meat.
Save time by making the glaze ahead and storing it in small glass jars in the fridge for up to a week.
Once you nail this method, sticky chicken drumsticks become a reliable weeknight win or party favorite. Save this guide and pin it for later—what side will you serve with your drumsticks? Grab a silicone pastry brush if you want faster cleanup and shinier glaze every time. Ready to make them? Let’s do it!