You know that weeknight scramble: hungry family, short time, and chicken that dries out if you blink. Learning how to make chicken tenderloins on a skillet gives you fast, juicy dinners without a lot of fuss. This method keeps the meat tender, the outside golden, and the whole meal ready in about 20–25 minutes.
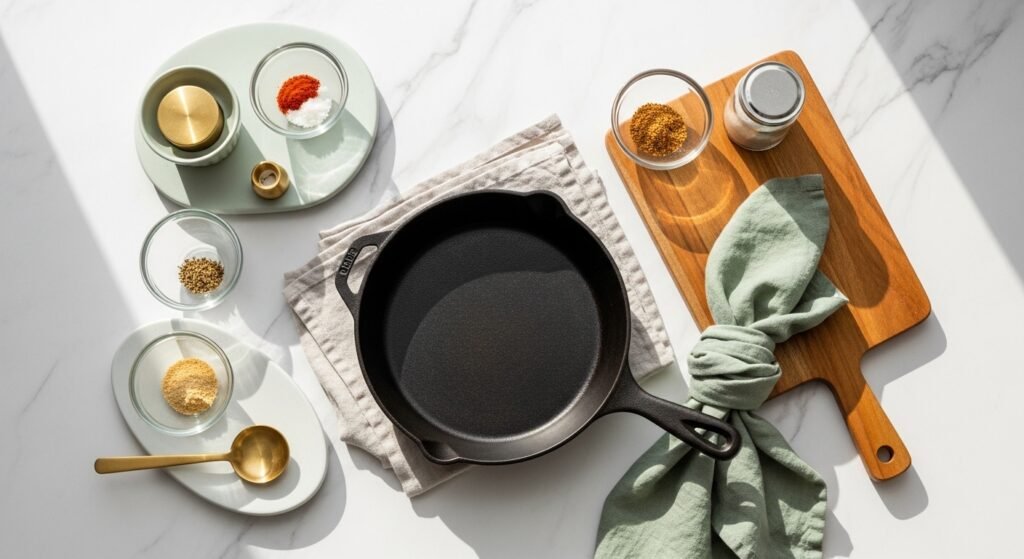
The secret is a hot pan and a simple seasoning routine. A good 10-inch cast iron skillet holds heat for an even sear, and an instant-read thermometer removes the guesswork so your tenderloins stay juicy. You’ll learn prep, searing technique, doneness cues, and quick storage tips.
Follow these steps and you’ll have a reliable 30-minute go-to: smoky, high-protein chicken tenderloins on a skillet that work for meal prep, bowls, or a family dinner.
Preparing Your Ingredients (fast prep for 30-minute weeknights)
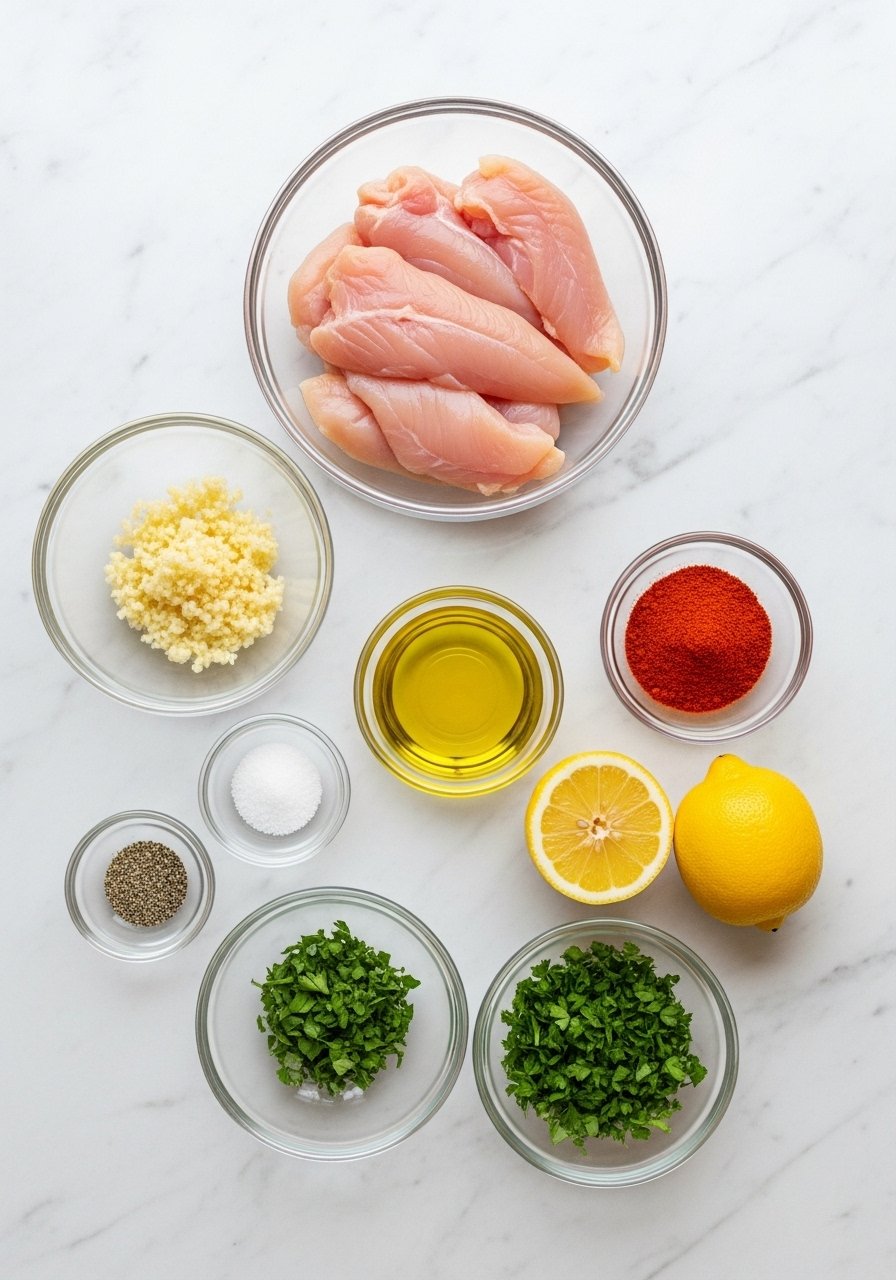
Start with 1.5 pounds chicken tenderloins (about 4–6 tenderloins per person depending on appetite). Pat them dry; surface moisture is why chicken steams instead of sears.
- Trim silver skin with a sharp chef’s knife on a wooden cutting board.
- Toss tenderloins with 1 tbsp olive oil, 1 tsp salt, 1/2 tsp black pepper, 1 tsp smoked paprika, and 1/2 tsp garlic powder.
- Let rest at room temperature for 10 minutes while you heat the pan.
Tip: Use small glass prep bowls to organize ingredients. I use glass meal prep bowls for mise en place.
Searing Technique: High Heat, Fast Cook
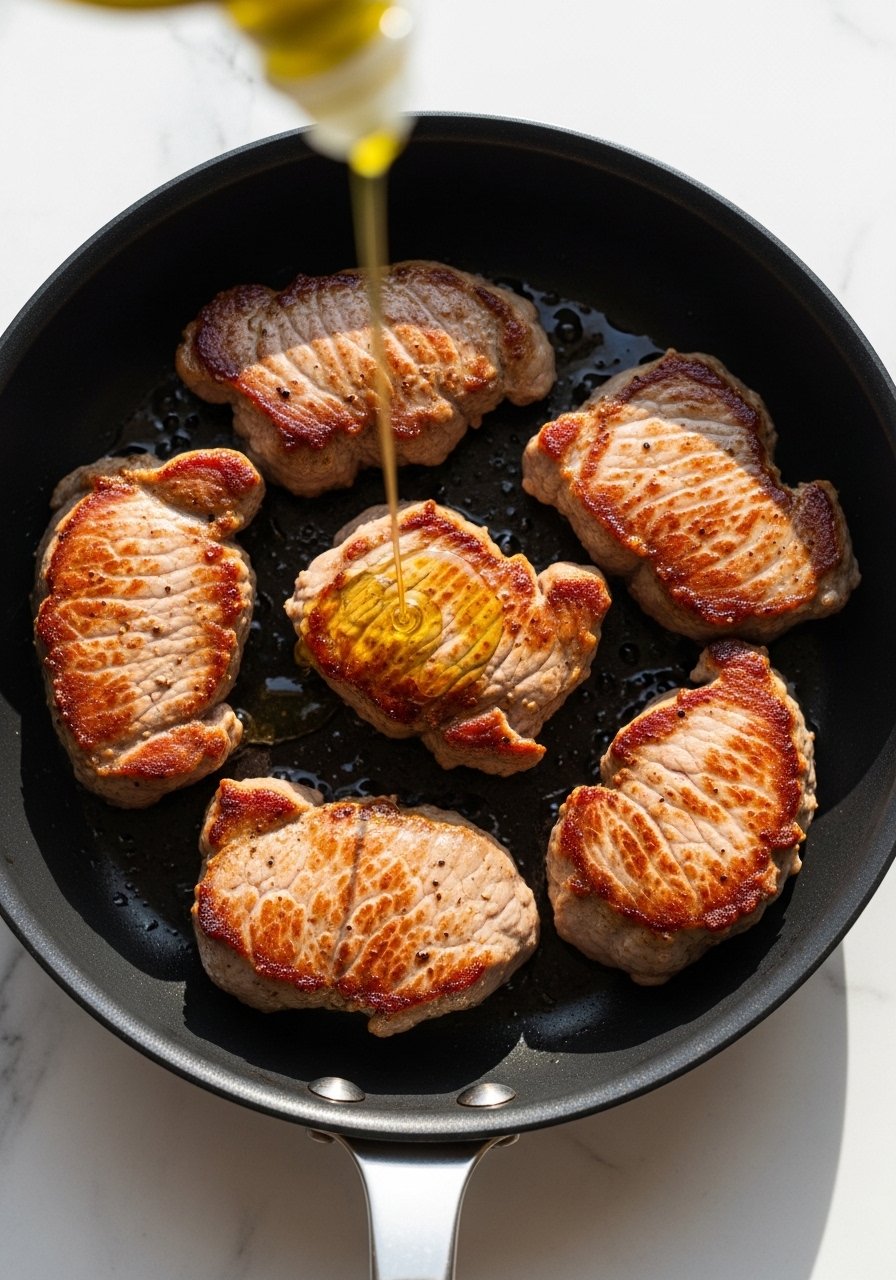
Heat your skillet over medium-high until it's shimmering. Add 1 tbsp oil, then place tenderloins spaced apart—don’t crowd the pan.
- Sear each side 3–4 minutes without moving to build a golden crust.
- Flip with stainless tongs and sear the other side another 3–4 minutes.
- If pieces are thick, reduce heat to medium and cook an extra 1–2 minutes.
- Use a silicone spatula to nudge pieces gently; it won’t scratch your pan.
- For a quick pan sauce, remove the chicken and deglaze with 1/4 cup chicken broth and a squeeze of lemon, scraping browned bits.
Pro tip: A non-stick skillet works if you prefer easier cleanup—try a durable non-stick skillet if you don’t own cast iron.
Getting Perfect Doneness and Resting
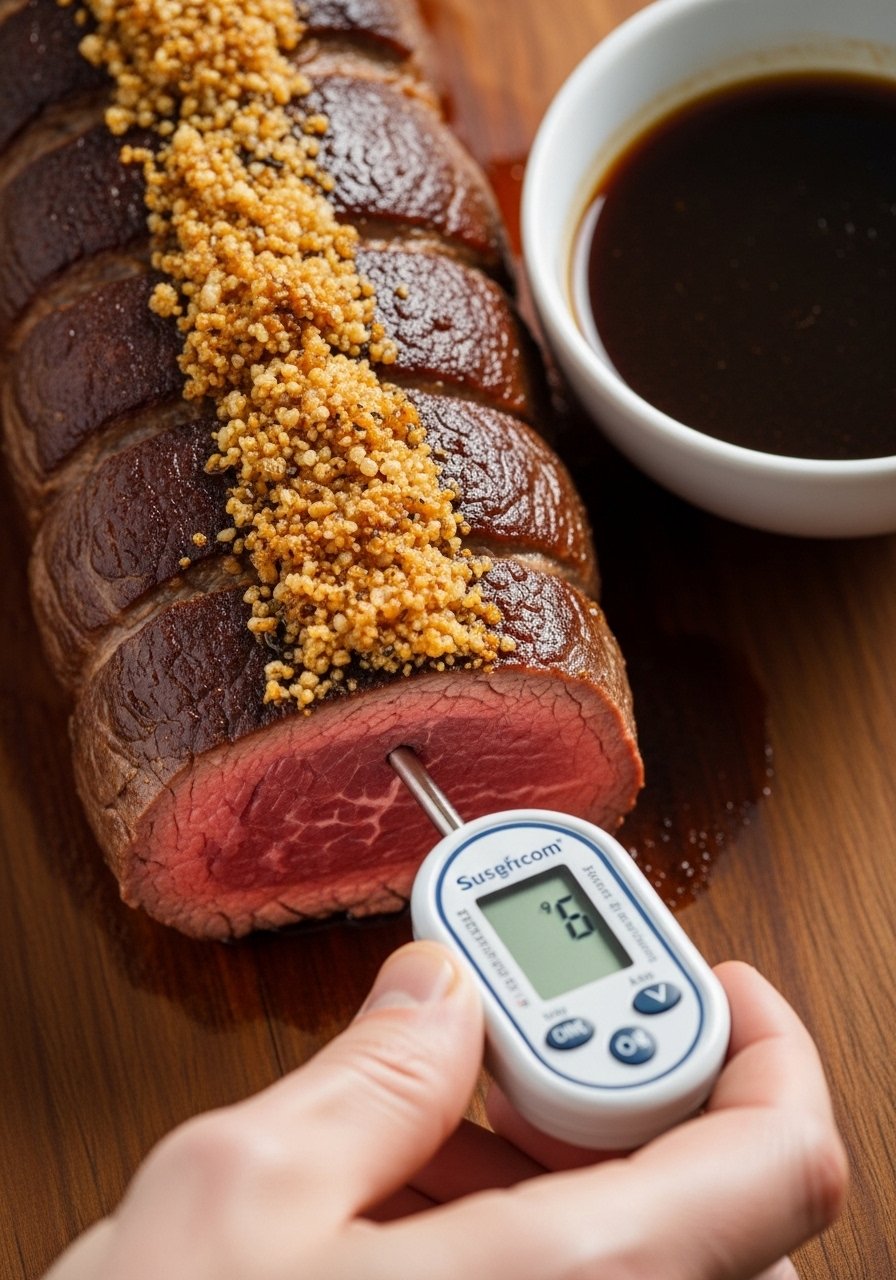
Never rely only on time. Check internal temperature with an instant-read thermometer; you're aiming for 165°F. Insert probe into the thickest part.
- If you don’t have a thermometer, cut a thick piece—juices should run clear, and meat should be opaque with a slight blush in the center.
- Let the tenderloins rest 5 minutes on a wire rack (or the cutting board) so juices redistribute.
Avoid overcrowding and overcooking—those are the two biggest mistakes that dry out tenderloins.
Finishing Touches, Serving, and Meal Prep
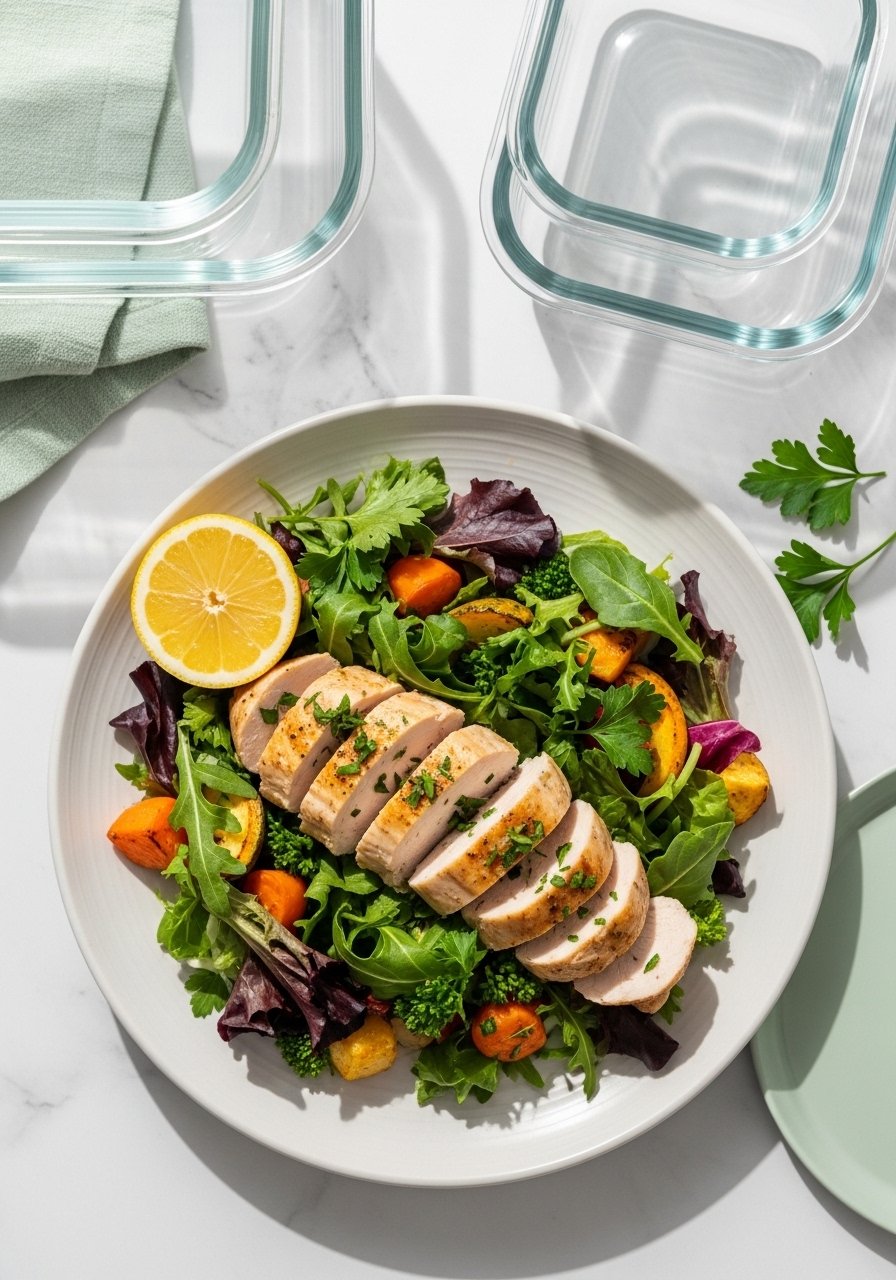
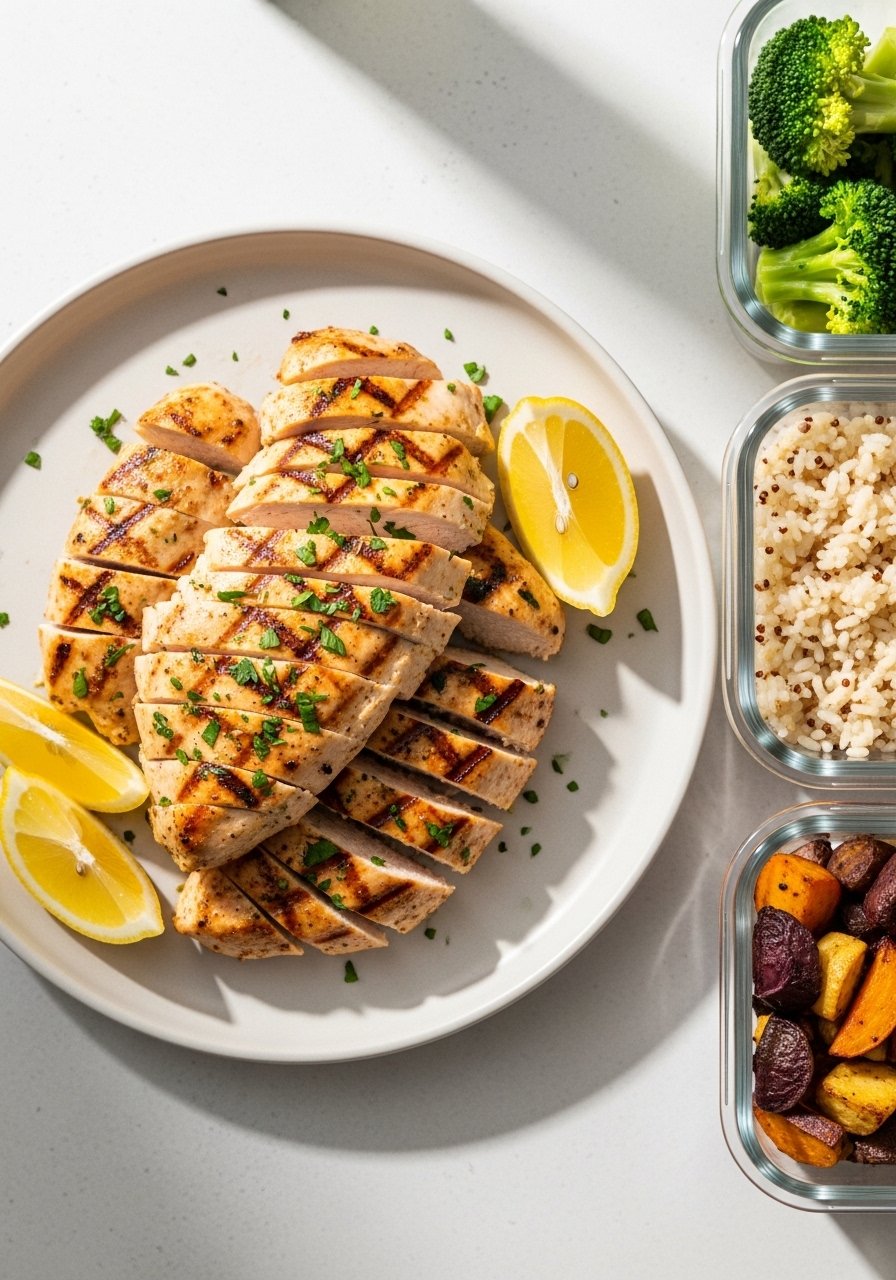
Slice across the grain for tender bites. Serve with rice, salad, or tucked into wraps.
- Make-ahead: Cool completely before packing into airtight glass storage containers for up to 4 days in the fridge.
- Freeze cooked tenderloins flat in parchment paper inside labeled freezer bags for up to 3 months.
- Reheat gently in a skillet or oven to avoid drying.
Quick variations: swap smoked paprika for taco seasoning, or add a splash of soy sauce and honey for an Asian-style glaze.
A small wire rack for cooling speeds up rest time and keeps bottoms crisp when reheating.
Take five minutes to prep full batches on Sunday. You’ll have a high-protein, 30-minute dinner waiting on busy nights. Which flavor variation will you try first? Pin this guide and save it for your next quick dinner night. Also consider grabbing an instant-read thermometer if you want perfect results every time—it's the tool that makes hitting 165°F reliable.