You know the frustration: baked chicken tenderloins that look great but turn out dry. If you want baked chicken tenderloins that are perfectly juicy and never dry, this guide gives you a reliable method you can repeat every week. You’ll learn how to prep, season, and bake for consistent results—no guesswork.
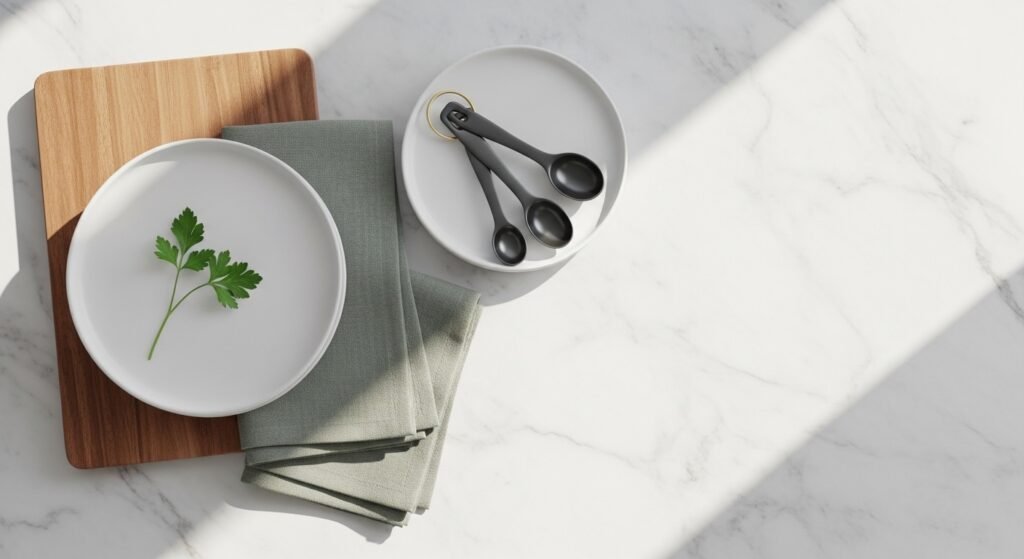
The secret is simple: a quick brine or marinade, a raised rack for even air circulation, and an accurate thermometer. I recommend using an instant-read thermometer and a sturdy rimmed baking sheet to start—these two tools remove the biggest sources of error.
Follow these steps and you’ll have juicy, high-protein meals ready in under 30 minutes of hands-on time. Pin this guide and try the 30-minute bake method tonight.
Preparing Your Ingredients
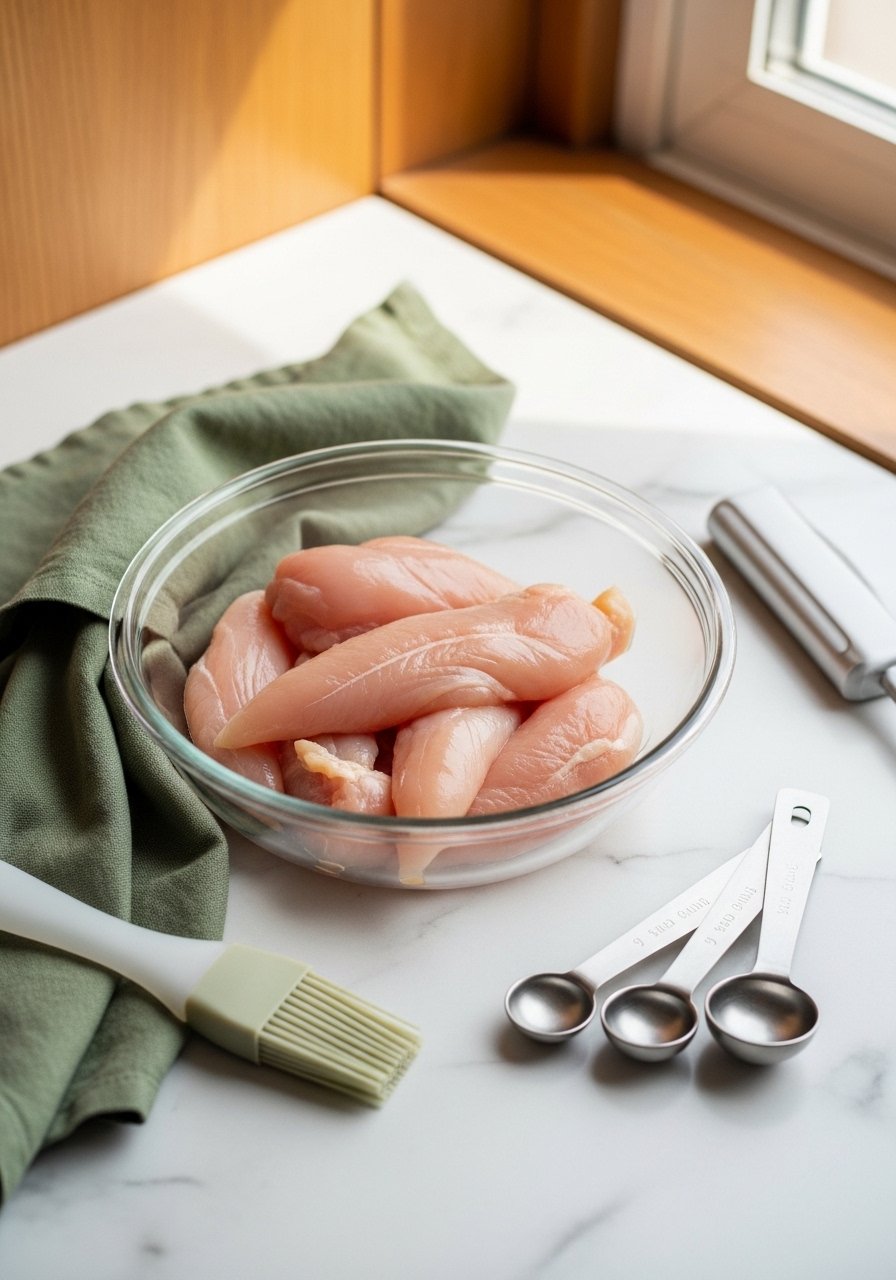
Trim excess fat and silver skin so the tenderloins cook evenly. Pat them dry with paper towels—wet meat steams and dries out. Measure salt carefully: for a quick brine, dissolve 1 tablespoon kosher salt per 2 cups water and submerge tenderloins for 15–30 minutes. This short brine firms texture and adds moisture without waiting hours.
Tips:
- Use glass meal prep bowls to combine brine or marinade and store in the fridge.
- Coat with oil and season using a silicone pastry brush so spices stick evenly.
Seasoning and Quick Marinades for Juiciness
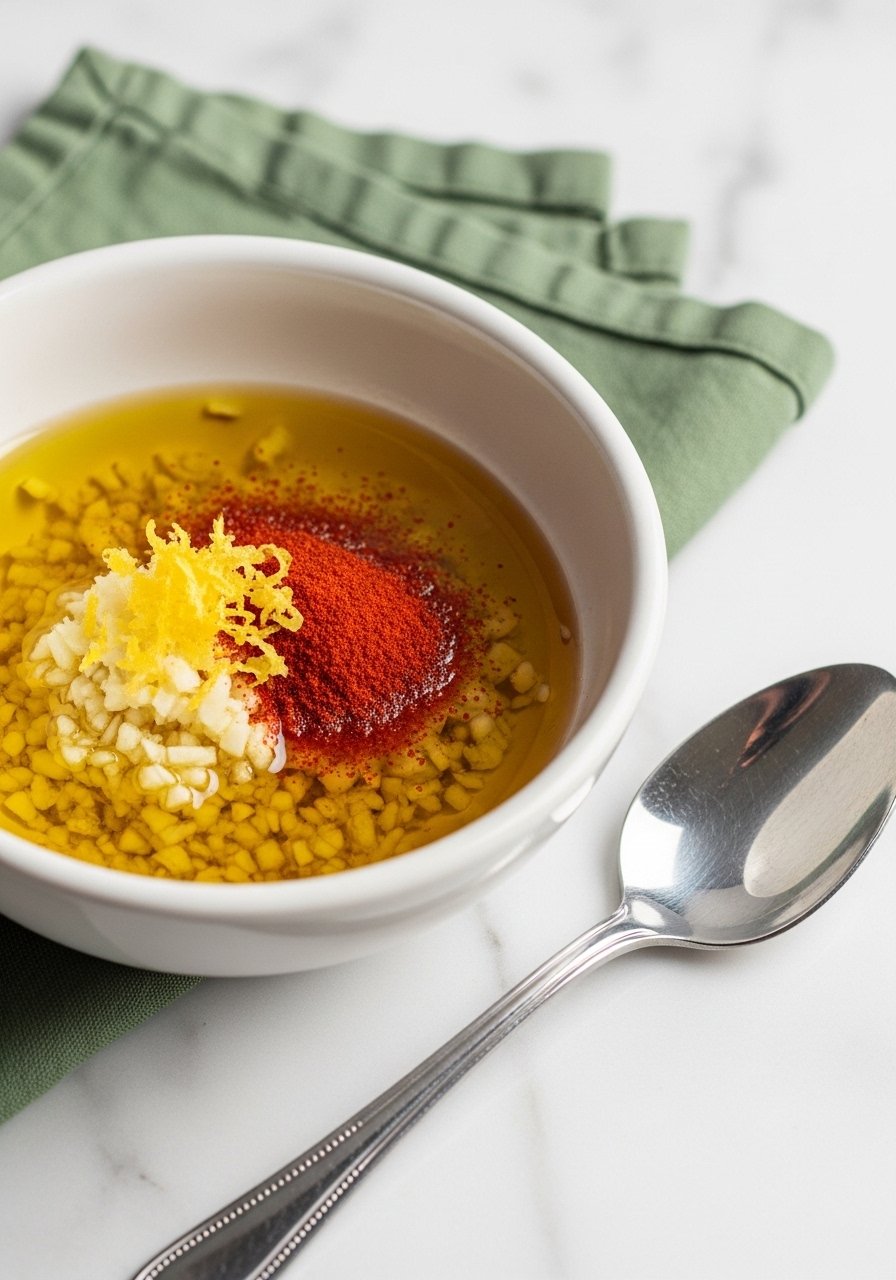
A simple marinade keeps the flavor bright and the meat tender. Try: 2 tbsp olive oil, 1 tsp garlic powder, 1 tsp paprika, ½ tsp black pepper, and zest of 1 lemon. Marinate for 10–30 minutes—no longer than an hour for tenderloins or the acid can firm them too much.
Fast steps:
- Mix marinade in a bowl.
- Toss tenderloins to coat and let rest 10–30 minutes.
- Use kitchen tongs to transfer meat to the baking surface—no puncturing.
Quick tip: If you skip brining, give the tenderloins at least 20 minutes in this marinade for better moisture retention.
Baking Technique for Juicy, Never-Dry Tenderloins
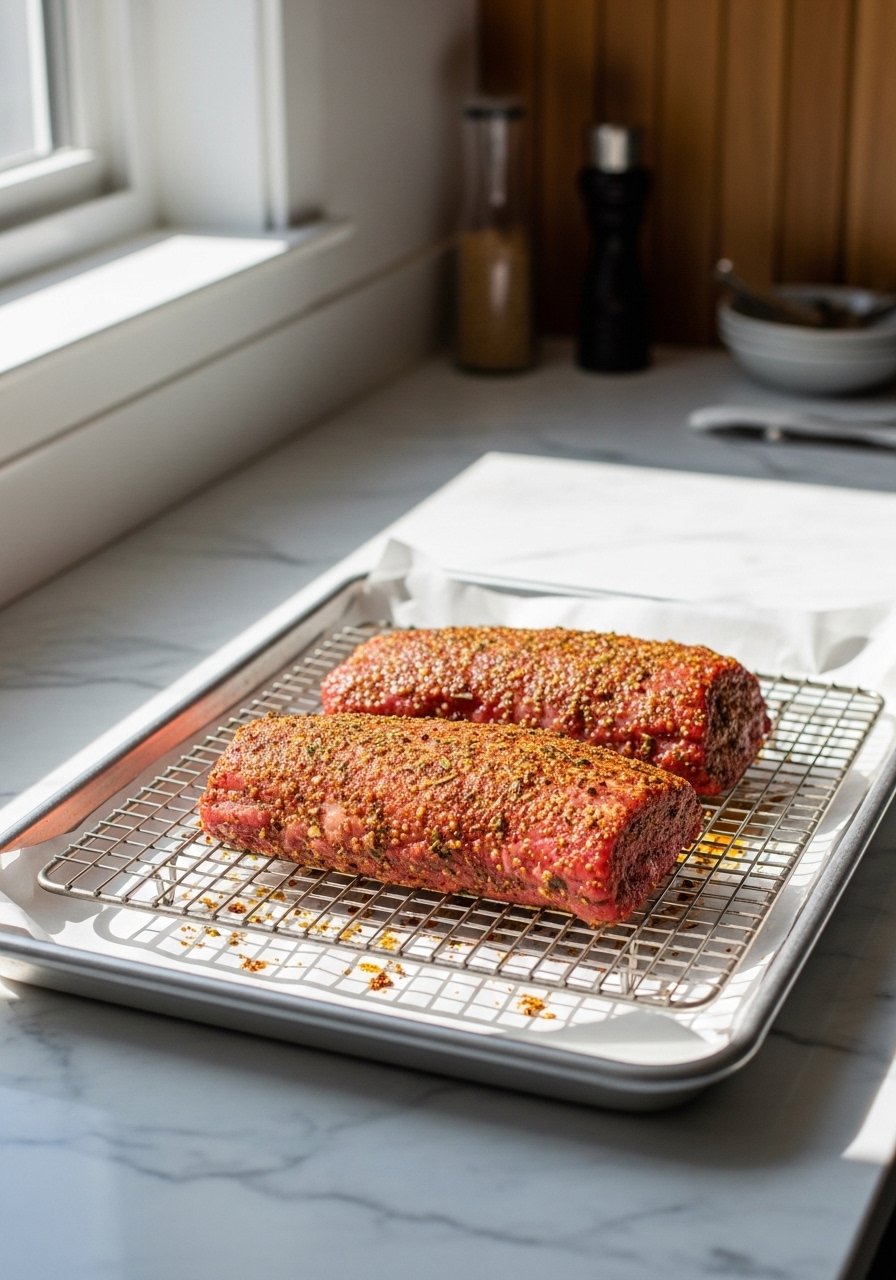
How you bake matters more than oven temp. Preheat oven to 425°F (220°C)—high heat sears outside fast and keeps juices inside. Place tenderloins on a wire rack for baking sheet set over a rimmed baking sheet so air circulates and the underside stays crisp. Line the sheet with parchment paper or a silicone baking mat for easy cleanup.
Bake times:
- 8–12 minutes for small tenderloins
- 12–16 minutes for larger pieces
- Check doneness with an instant-read thermometer; target 165°F (74°C)
Steps:
- Preheat oven to 425°F.
- Arrange tenderloins on the rack with space between.
- Bake and check at the lower end of the time range to avoid overcooking.
- Rest for 5 minutes before serving to let juices redistribute.
Warnings:
- Don’t overcrowd the rack.
- Avoid guessing temp—use a thermometer for reliable results.
Finishing Touches, Storage, and Meal Prep
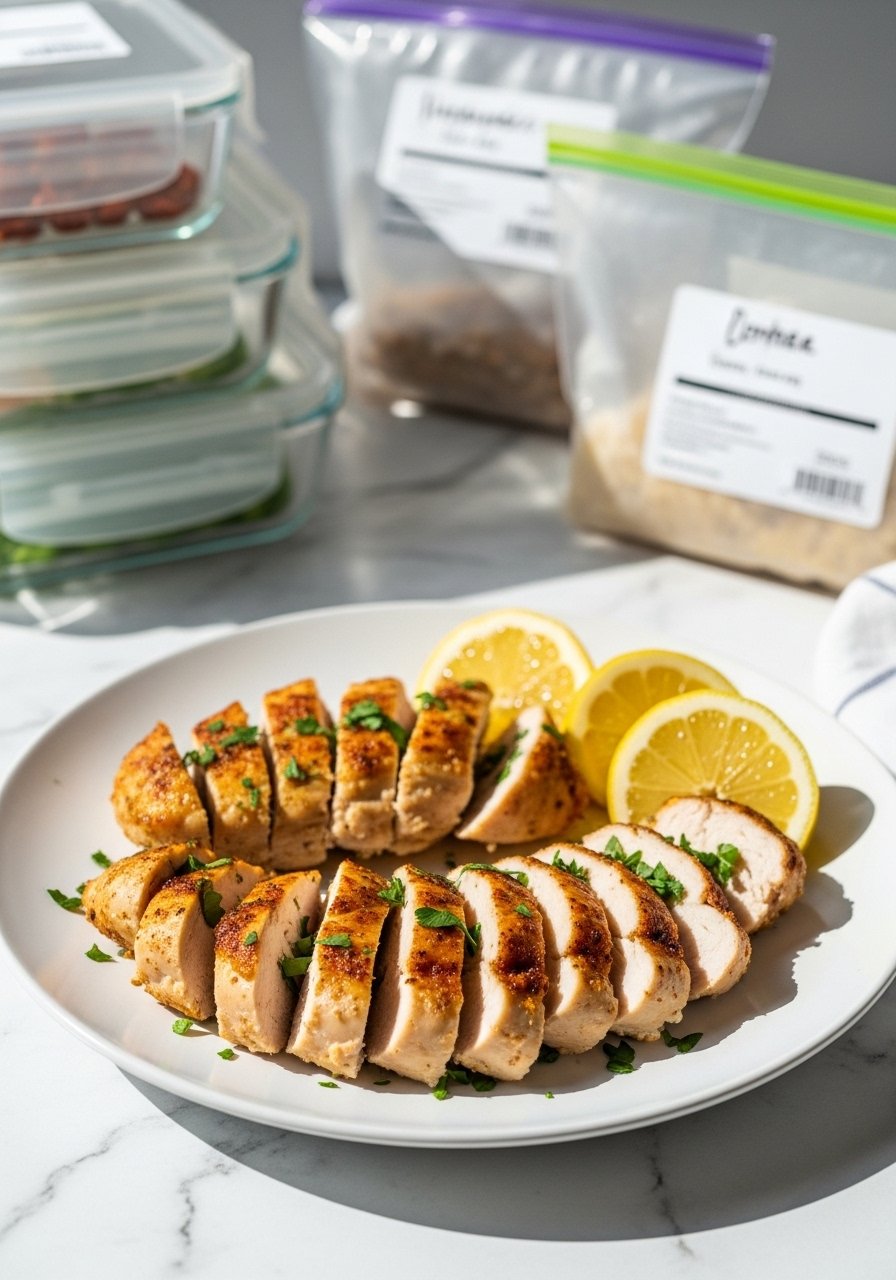
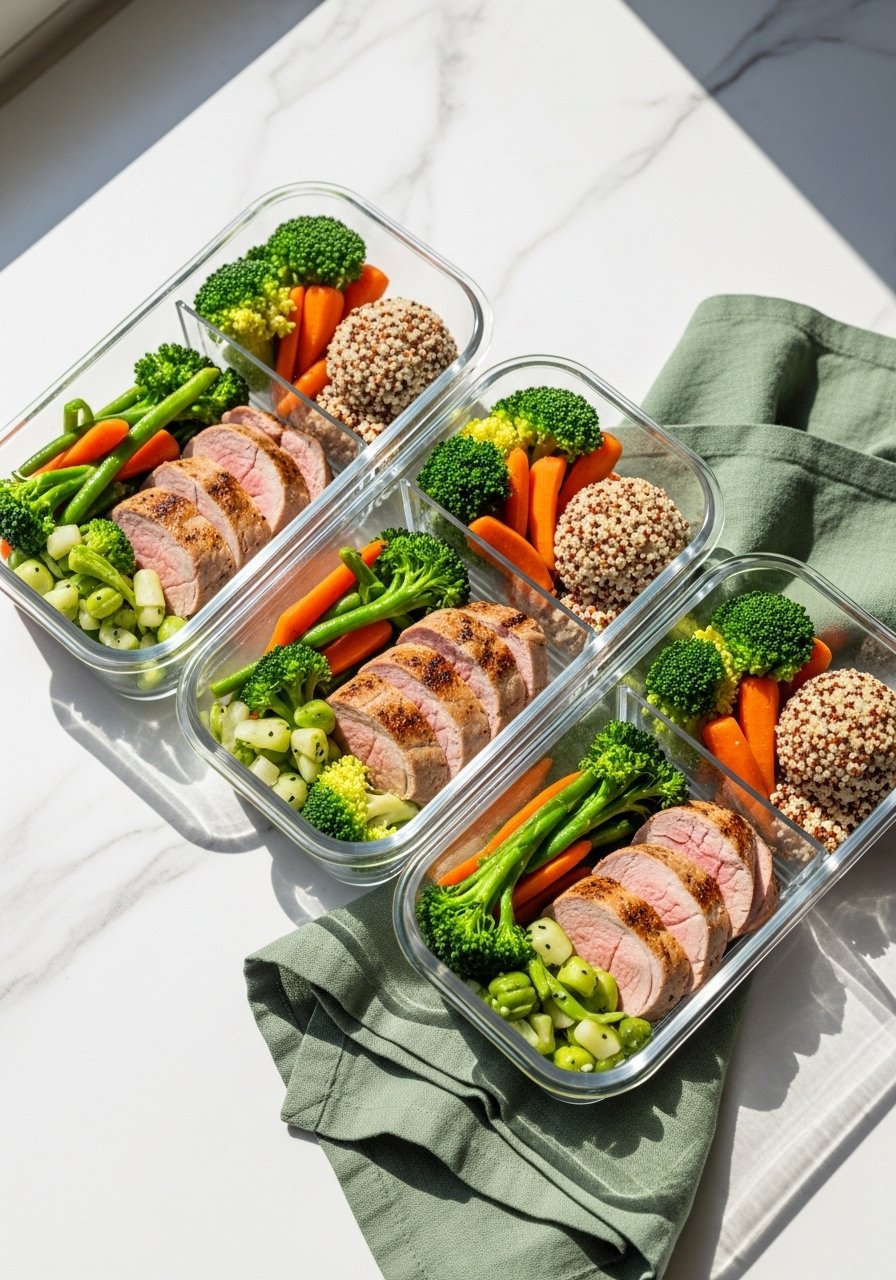
Finish with a quick brush of olive oil or a squeeze of lemon. Slice across the grain for tender bites. For meal prep, portion into airtight glass storage containers and refrigerate up to 4 days. Freeze extras flat inside labeled freezer bags for up to 3 months.
Make-ahead tips:
- Keep sauces separate in small jars to avoid soggy meat.
- Reheat gently in a covered skillet or oven at 325°F until warm—avoid microwave overcooking.
You’ve just learned how to turn ordinary chicken into juicy, reliable baked chicken tenderloins every time. Save this guide and pin it for busy weeknight meals. Grab an instant-read thermometer if you don’t have one—it’s the hero tool that guarantees juicy results. Which seasoning will you try first? Pin this and share with friends who hate dry chicken!