You love crispy, golden fried chicken tenderloins but hate the greasy, uneven results from takeout. If your home batches come out soggy or overcooked, you’re not alone. Fried chicken tenderloins should be crunchy outside and juicy inside—every time.
The solution is a simple, repeatable method: even pieces, triple-layer dredge, steady oil temperature, and a short rest. A digital kitchen scale helps portion evenly, and a good 10-inch cast iron skillet holds steady heat for consistent browning.
Read on and you’ll learn how to prep, bread, fry, and store fried chicken tenderloins that are golden, crispy, and ready for meal prep or a fast family dinner.
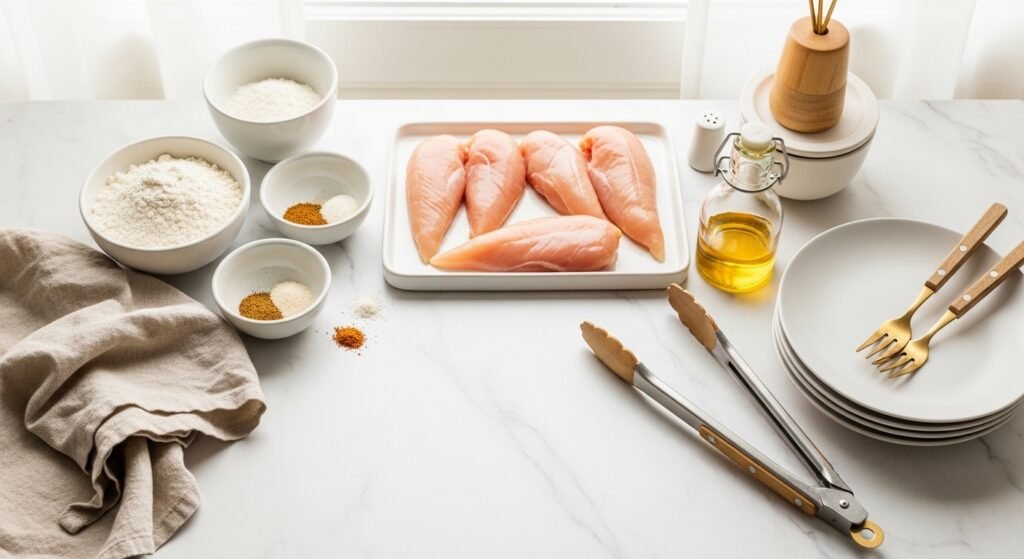
Preparing Your Ingredients for Easy Fried Chicken Tenderloins
Start by trimming and sizing your chicken so each tenderloin cooks in the same time. Aim for 3–4 oz per piece—about 3–4 tenderloins per person. Use a digital kitchen scale if you want exact portions.
- Pat dry with paper towels for better adhesion.
- Brine or soak in buttermilk for 30 minutes to overnight to tenderize.
- Mix seasoning into your flour so every bite is flavored.
Helpful tools: a set of measuring cups and spoons and stainless mixing bowls keep stations tidy and fast.
Mastering the Breading and Frying Technique (30-Minute Option)
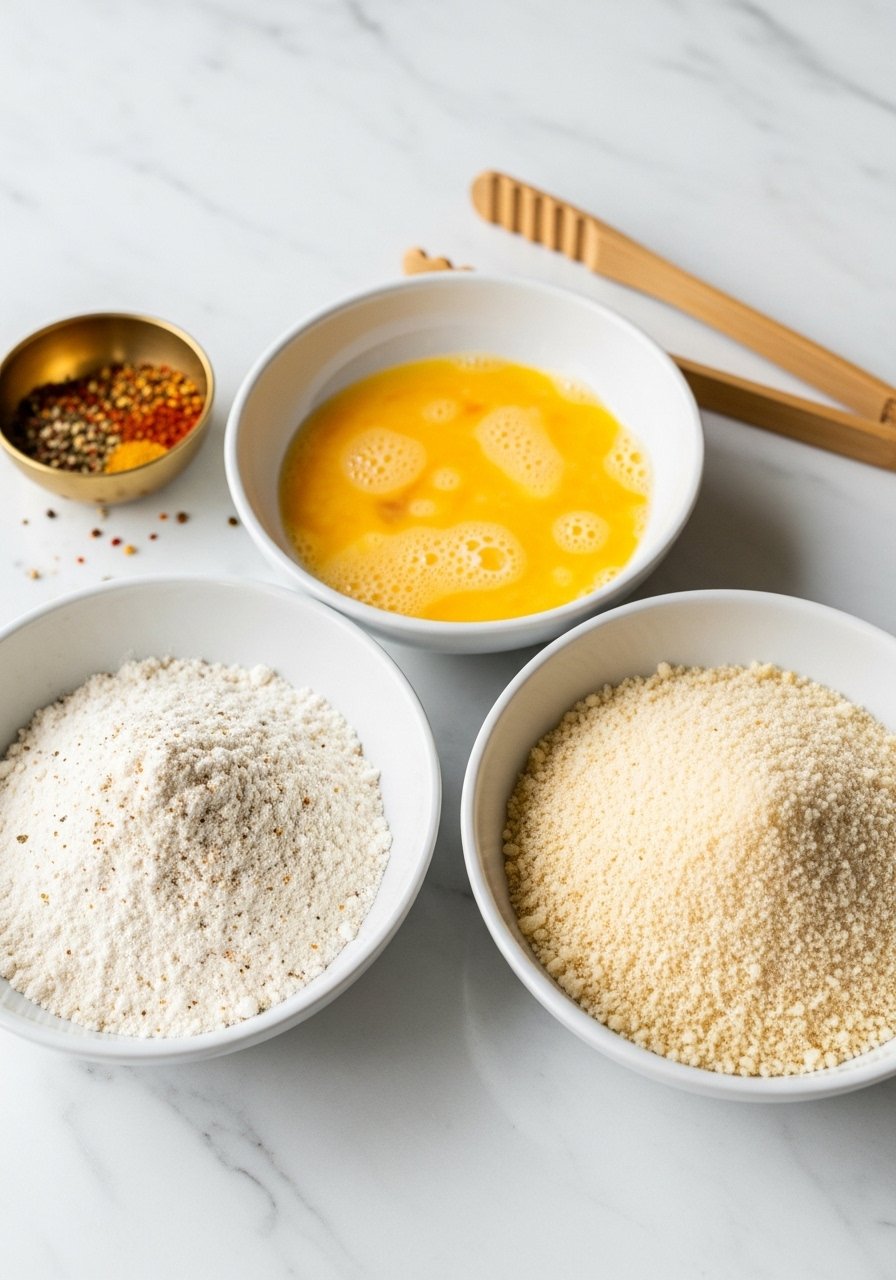
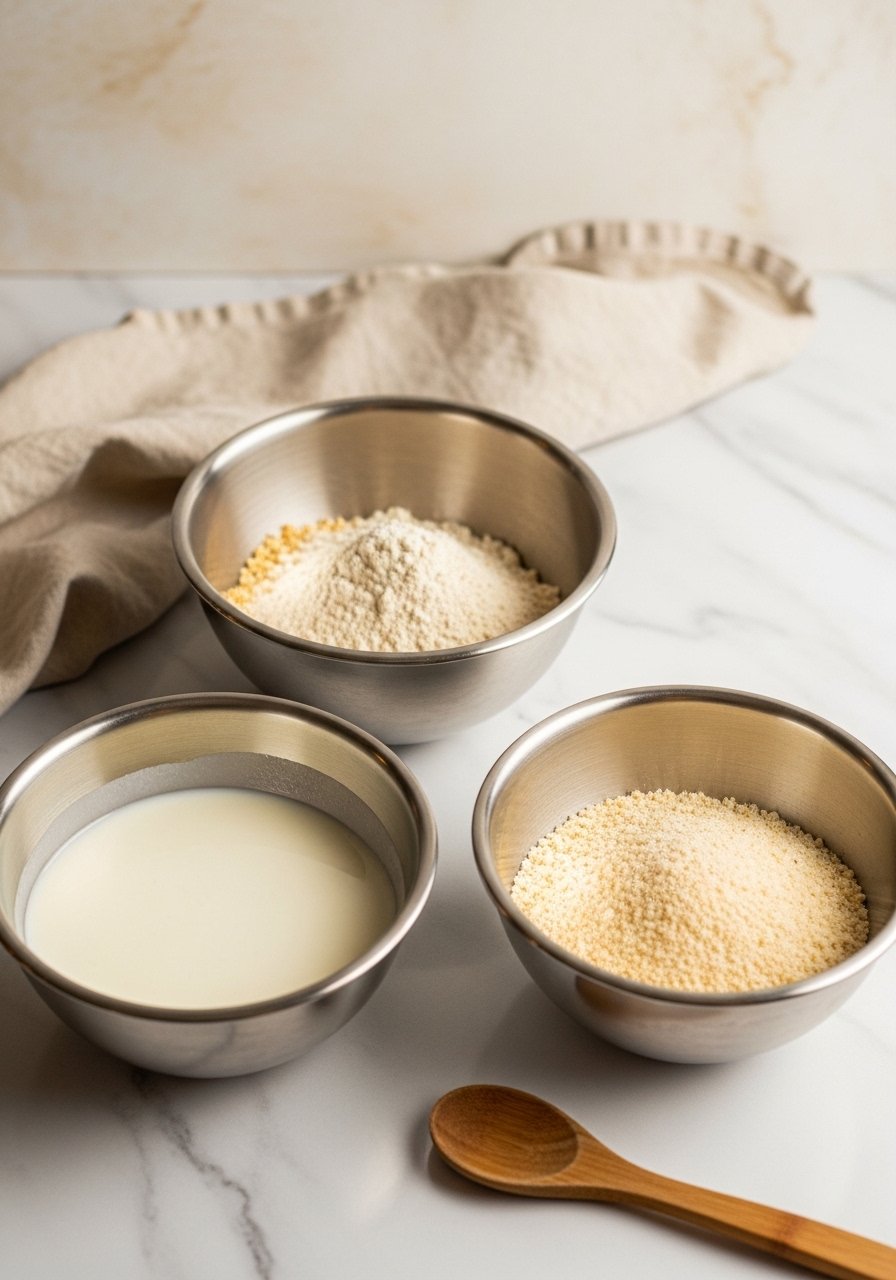
The triple-dredge method locks in crunch: flour → egg wash → panko (or flour again). Work in batches to avoid overcrowding.
- Season flour with salt, pepper, garlic powder, and paprika.
- Dip tenderloin in flour, then egg, then panko—press gently to adhere.
- Rest on a plate for 5–10 minutes so the coating sets.
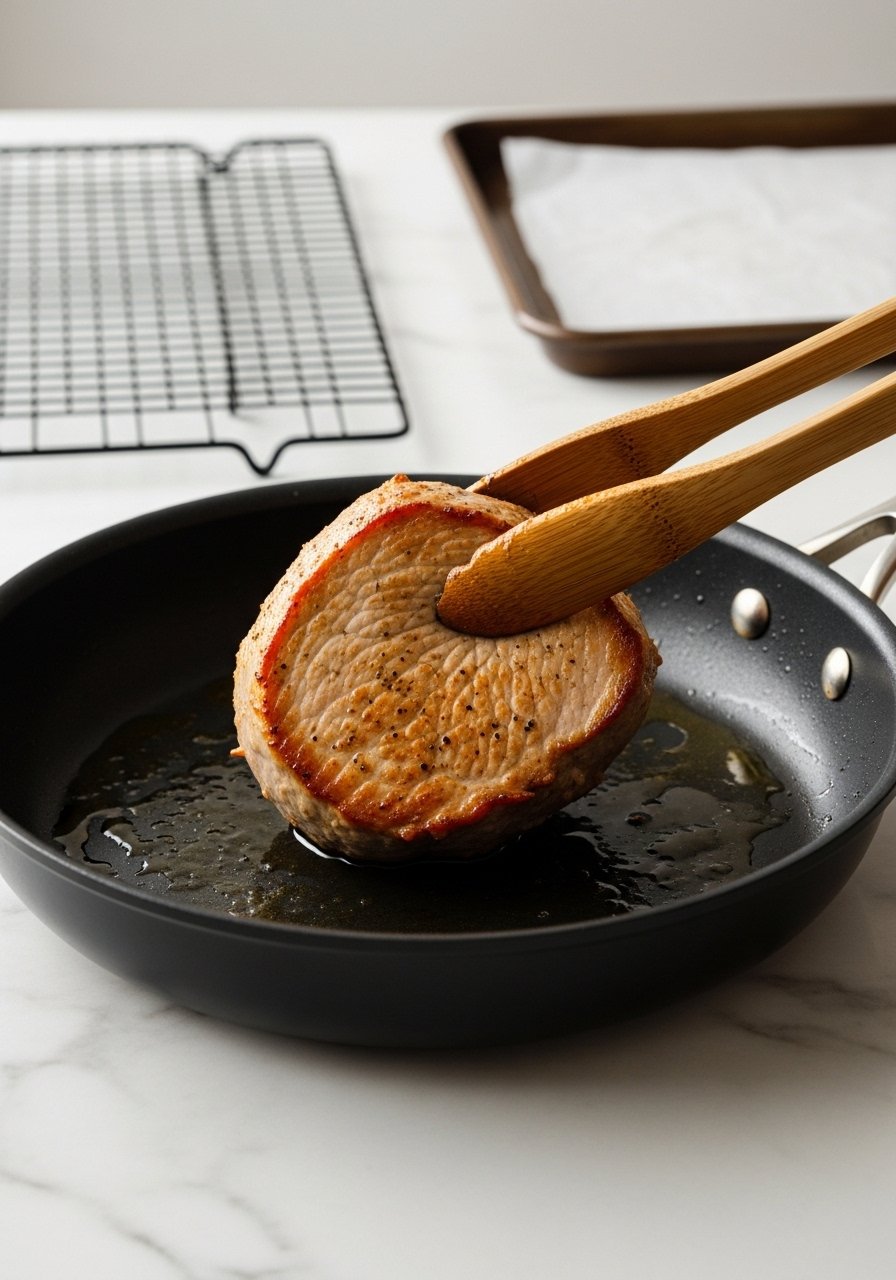
Heat oil to 350°F (175°C) in a 10-inch cast iron skillet. Fry in batches for 3–5 minutes per side depending on thickness.
- Use kitchen tongs to turn gently.
- A shallow layer of oil (about 1/2–3/4 inch) gives even crisping without deep-frying.
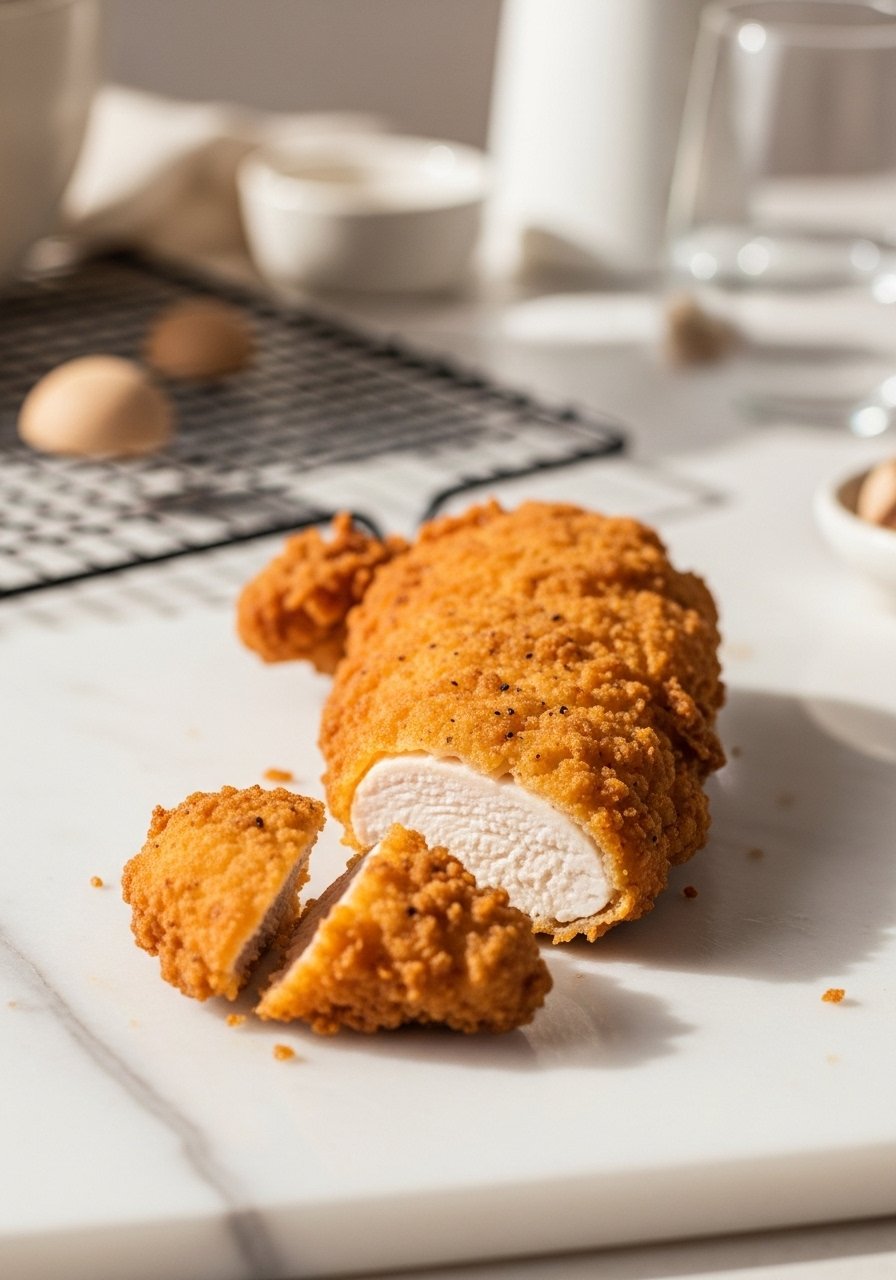
Getting the Perfect Texture and Doneness
Internal doneness is non-negotiable: 165°F (74°C) safe, but aim to pull at that temp. Use an instant-read thermometer to check without cutting.
- Transfer to a wire cooling rack immediately so steam doesn’t sog the bottom.
- Line the rack with a sheet of parchment paper for easy cleanup.
If pieces brown too quickly, lower heat slightly. If coating falls off, dry more thoroughly before dredging and avoid flipping too often.
Finishing Touches, Serving, and Meal Prep Tips
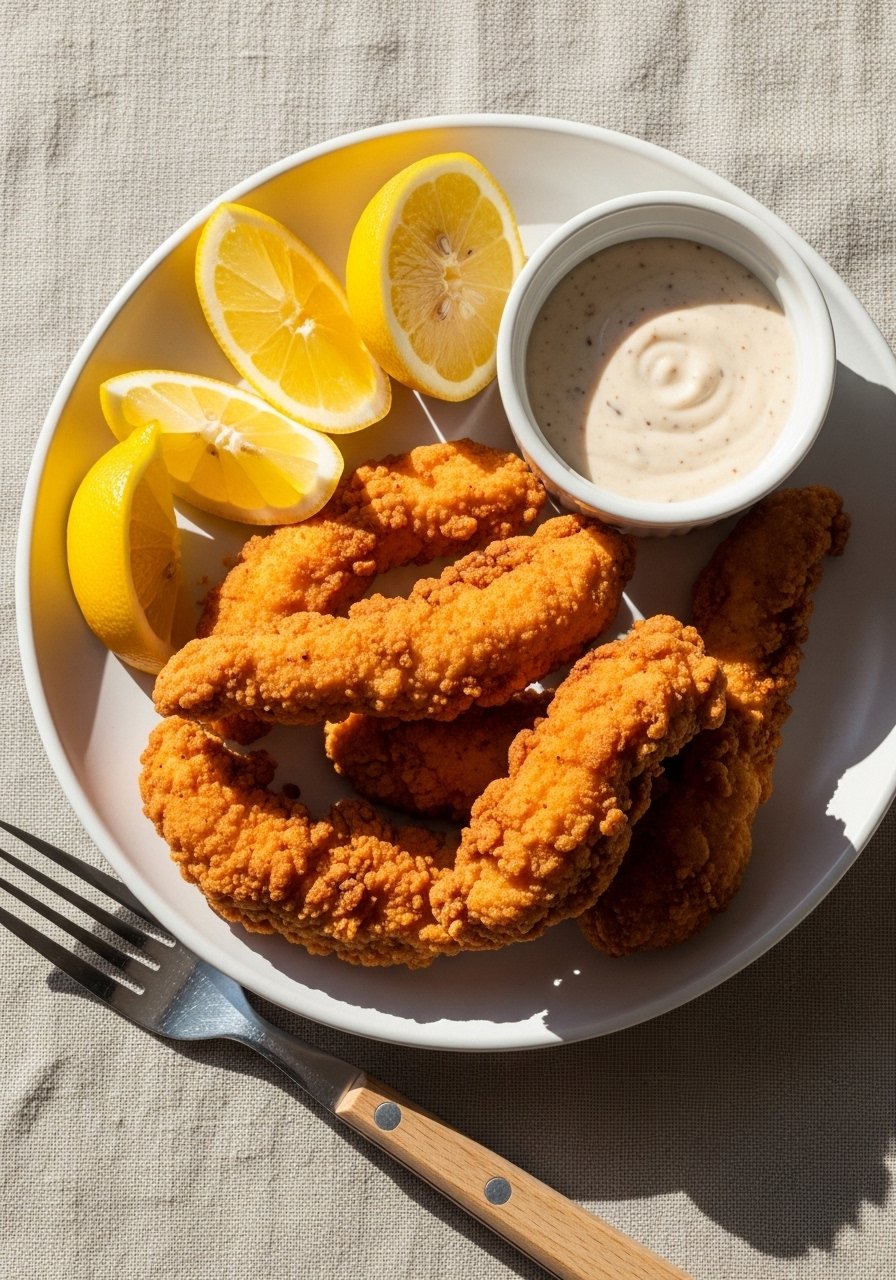
Rest for 5 minutes to let juices redistribute. Serve with pickles, slaw, or tucked into wraps for an easy high-protein meal.
- Store leftovers in airtight glass storage containers in the fridge for 3–4 days.
- Freeze extras flat in freezer bags for up to 3 months—reheat in a 400°F oven for 8–10 minutes to re-crisp.
- For quick prep, pre-dredge and freeze on a tray; drop frozen tenders into hot oil, adding a minute or two to cook time.
Small help: a meat mallet evens thickness quickly, and a silicone pastry brush brushes off excess crumbs gently.
You’ve got a repeatable method: portion evenly, triple-dredge, keep oil steady, and rest on a rack. Save or pin this guide for your next weeknight dinner or snack-run—these fried chicken tenderloins will be a go-to. Which tip will you try first: the buttermilk soak or the wire rack rest? Grab an instant-read thermometer if you want foolproof timing, then let’s get frying!