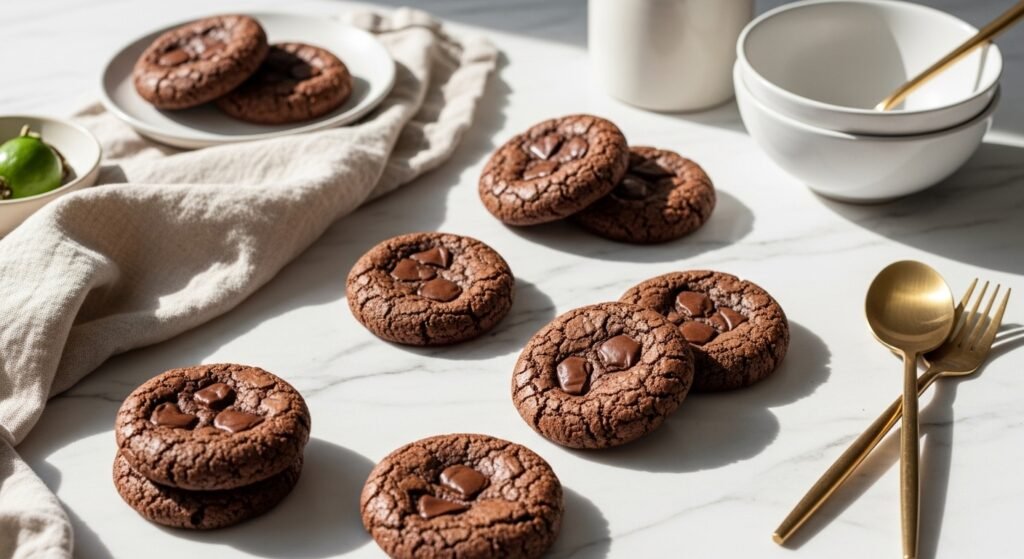
You want brownies—rich, fudgy, and loaded with chocolate—but in a portable cookie form. These easy brownie cookies deliver that dense, chewy center and shiny crackled top with minimal fuss. Make a batch in under an hour and you’ll have a dessert that’s perfect for snack time, lunchboxes, or last-minute guests.
The secret to consistent results is simple tools: a digital kitchen scale for accurate measurements and a reliable stand mixer or sturdy hand mixer to combine ingredients without overworking. With those, you’ll get fudgy brownie cookies every time.
Read on to learn how to prep, mix, bake for that chewy texture, and store extras. This guide includes timing, troubleshooting, and practical product tips that make the whole process easier.
Preparing Your Ingredients for Easy Brownie Cookies
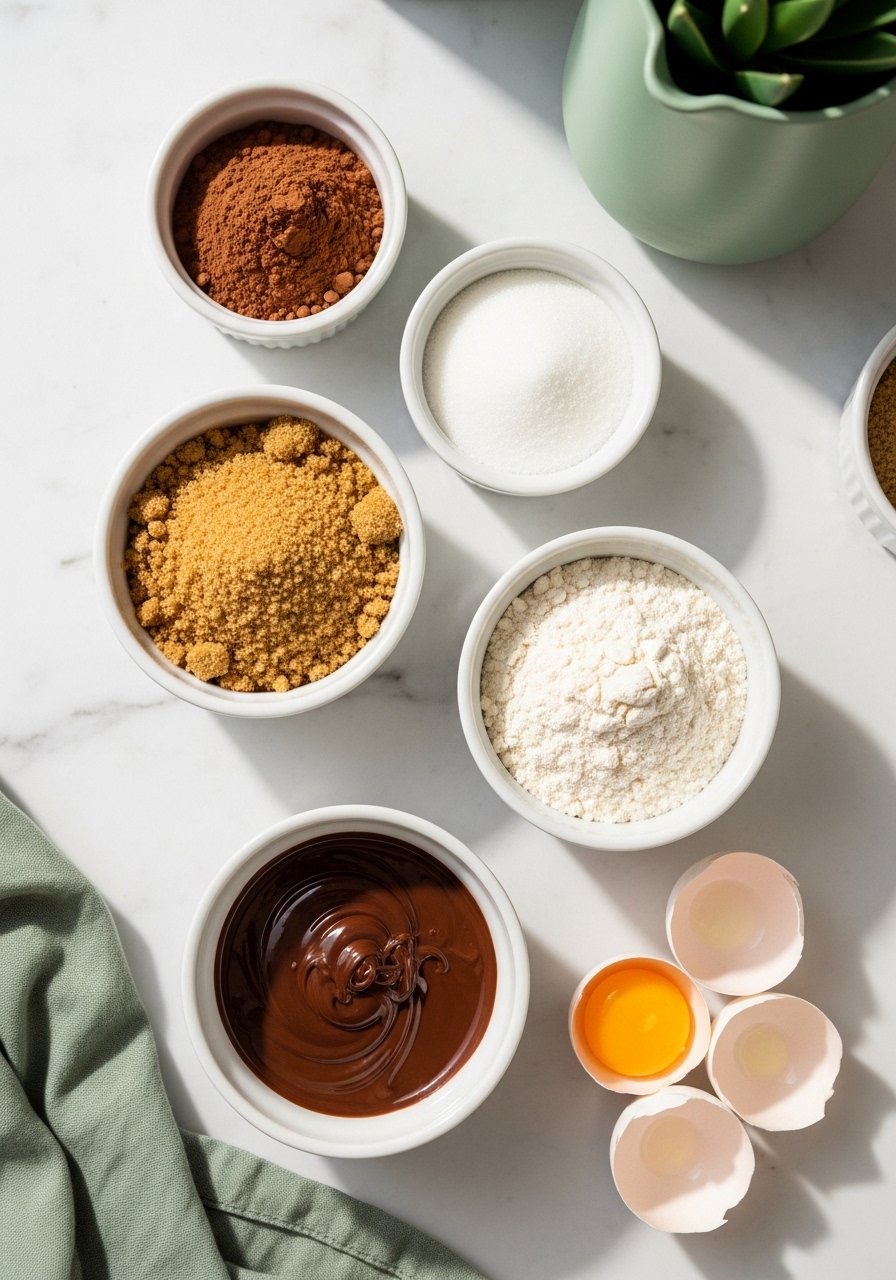
Start by measuring everything precisely—brownie cookies are forgiving, but accuracy helps the texture. You’ll need:
- 150g unsalted butter + 150g dark chocolate, melted together
- 200g granulated sugar and 100g brown sugar
- 2 large eggs
- 60g all-purpose flour
- 45g cocoa powder, pinch of salt, 1 tsp vanilla
- 150–200g chocolate chips for extra melty pockets
Tips:
- Use a set of measuring spoons for small amounts.
- Keep chocolate chips chilled until folding in so they don't fully melt in the batter.
- If you want a smoother melt for the chocolate, melt in a heatproof bowl over a pan of simmering water or short bursts in the microwave.
Mixing & Shaping: Make the Batter Thick and Glossy
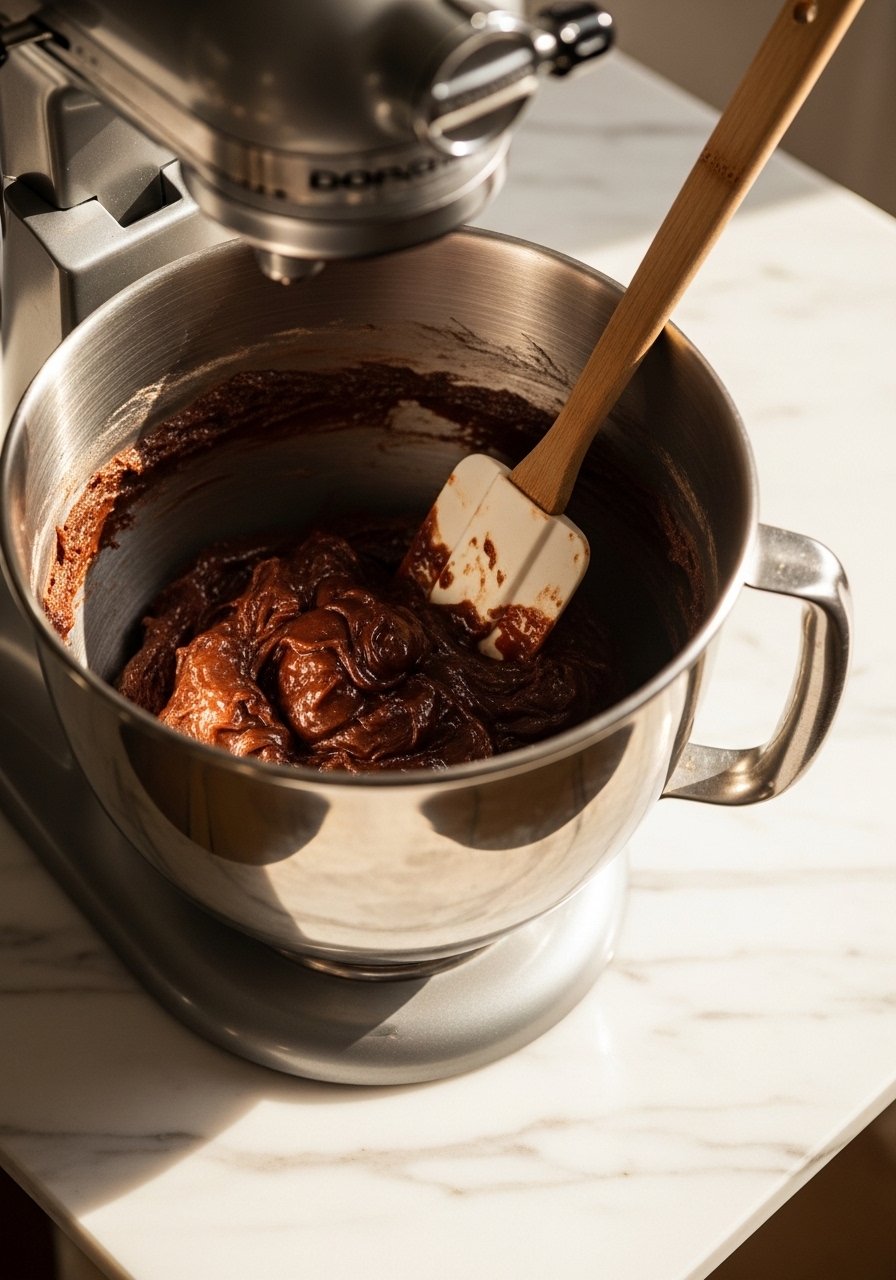
- Melt butter and chopped dark chocolate until smooth; cool slightly.
- Whisk eggs with both sugars until glossy and slightly thickened (2–3 minutes).
- Stir melted chocolate into the egg mixture, then fold in sifted flour, cocoa, and salt until just combined.
- Fold in chocolate chips—don’t overmix.
Quick steps:
- Chill the dough 20–30 minutes if it’s too soft; colder dough spreads less and yields a thicker cookie.
- Use a silicone spatula to scrape sides cleanly.
- A silicone whisk makes the egg-and-sugar step easier without scratching bowls.
Shaping:
- Drop 2-tablespoon scoops for medium cookies (yields about 18 cookies) using a cookie scoop for even sizing.
- For larger cookies, use a 3-tablespoon scoop and add 1–2 minutes to bake time.
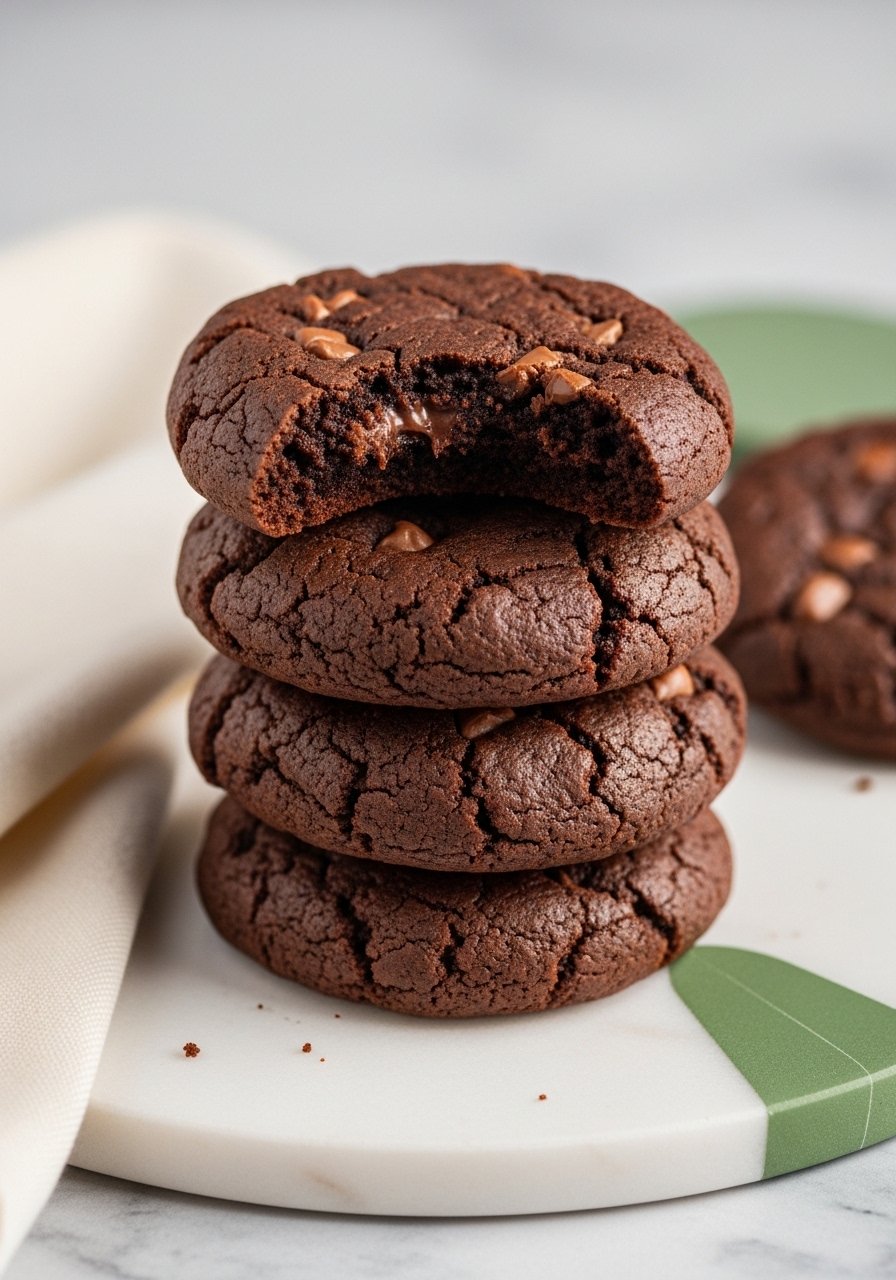
Baking for Fudgy, Chewy Texture

Baking tips that preserve chew:
- Preheat oven to 350°F (175°C) and bake on the middle rack.
- Bake 9–11 minutes for 2-tablespoon cookies; 11–13 minutes for larger scoops.
- Look for set edges and a slightly soft center—that’s the sweet spot. Cookies continue to cook while cooling.
Pro tricks:
- Line a rimmed baking sheet with parchment paper or a silicone baking mat to prevent sticking and promote even browning.
- Rotate the pan halfway through baking for even color.
- If your oven runs hot, check with an oven thermometer to avoid overbaking.
- Transfer baked cookies to a wire cooling rack after 2 minutes to keep bottoms from steaming.
Finishing Touches, Storage, and Make-Ahead Options
Finish and store like a pro:
- Sprinkle flaky salt on warm cookies for contrast.
- Store cooled cookies in an airtight glass container at room temp for up to 3 days.
- Freeze extras flat in freezer bags for up to 3 months. Reheat 8–10 seconds in the microwave for that just-baked gooey center.
- You can freeze raw scoops on a tray, then store in freezer bags—bake from frozen, adding 2–3 minutes to bake time.
Common mistakes:
- Overbaking is the number-one culprit for dry cookies—pull when centers still look slightly underdone.
- Using low-fat chocolate or margarine will alter texture—stick to real butter and good baking chocolate.
These brownie cookies are flexible: stir in nuts, swap half the chips for chopped candy, or add a teaspoon of espresso powder to deepen chocolate flavor.
Once you get comfortable, grab a cookie scoop to speed up shaping—it's the small tool that saves time and keeps sizes uniform. Pin this guide for your next baking session, and tell me: will you add nuts or keep them pure chocolate?